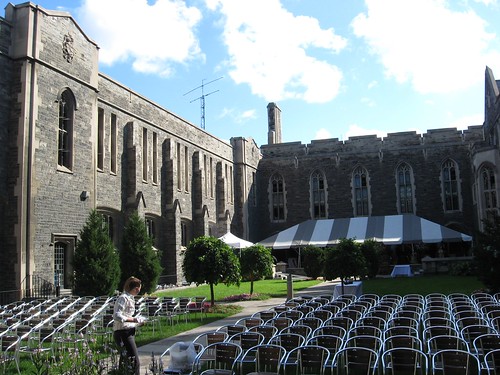
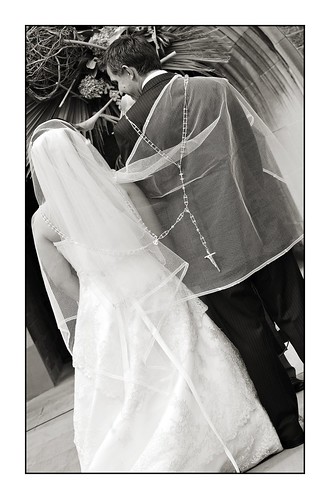
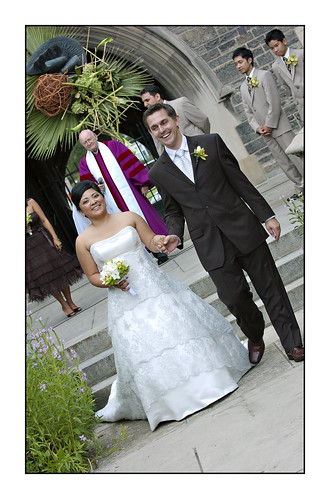
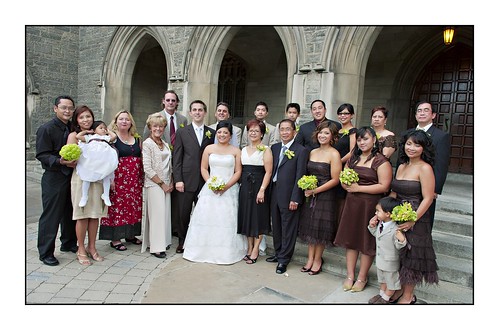
.:[Double Click To][Close]:.
Get paid To Promote 
at any Location


Saturday, August 30, 2008

Wedding Week Continued - The Grand Finale

So now you've seen all the elements we put into the wedding... but how did it all turn out? Stupendously, amazingly, touchingly, magically...perfect. And because a picture is worth a thousand words, I'll let them do the talking and give you a glimpse of our day.

The Ceremony


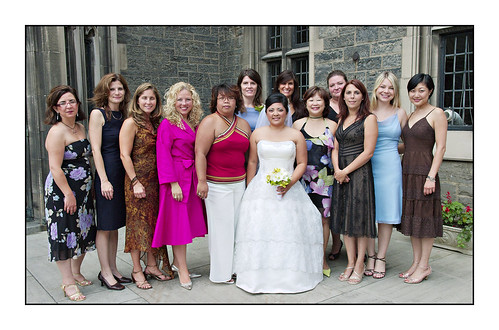
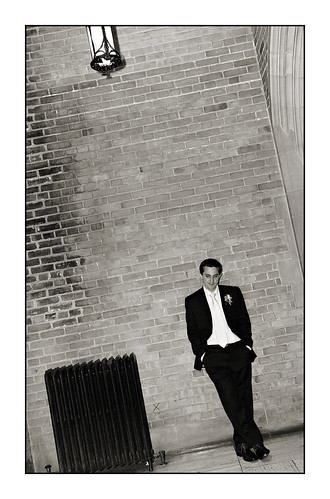
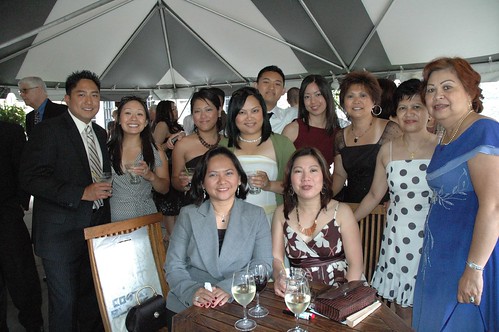
Act II: Cocktails & Photos


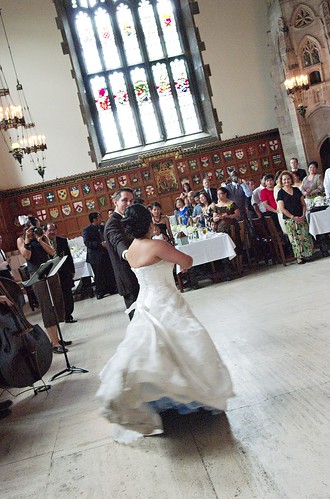
Act III: The Reception


And there you have it... the first chapter of the story of Wanderluster and HandyMan. We'll be back to our regularly scheduled programming next week.


Thursday, August 28, 2008

Wedding Week Continued - DIY Decor

I hope readers looking for renovation posts will indulge me this week as I continue the wedding talk. But before you can say "I don't care about weddings" - have a read and hopefully this post will sate your DIY-thirst!

I've blogged about it before, so I'll just mention this first project briefly. This is our cardhouse - a house for the monetary gifts our guests were kind enough to give us :) HandyMan and I combined our design talents to come up with this modern interpretation. It served its purpose well and the only thing left to do is find a place to display it in our house. I think its too pretty to sit in a cupboard gathering dust!


Our wedding took place in August and we had an outdoor ceremony so I wanted to be sure our guests wouldn't wilt in the heat. We had some sandalwood fans available which we bought in the local Chinatown. I wrapped the ends with wrapping paper from Paper Source and attached coordinating ribbons. After the ceremony, the guests walked over to the tent area for cocktails. On the way, they were greeted by servers with cold "oshibori", those wet towels you often see in Japanese restaurants. We bought ours from The Oshibori Company in a yummy peach mango scent. It was a great way to help our guests freshen up after sitting in the sun!


A few of our guests got some special DIY gifts. We had quite a few kids at the wedding and to keep them occupied, we gave them these gable boxes filled with play-doh, colouring books, crayons, toy cars, juice boxes, and goldfish crackers. They were a HUGE hit :) I also put together kits for my two bridesmaids containing the jewellry I had designed especially for them, personalized stationary, and a cute retro Old Navy one piece to wear the morning of the wedding as we got our hair and makeup done (I'm such a girl ;o) ).


Speaking of being a girl, I'm sure only my female guests noticed my next DIY. For my "something blue", I dyed my crinoline. All it took was a package of Rit Dye and my washing machine. I loved how it peeked out when we did our first dance.
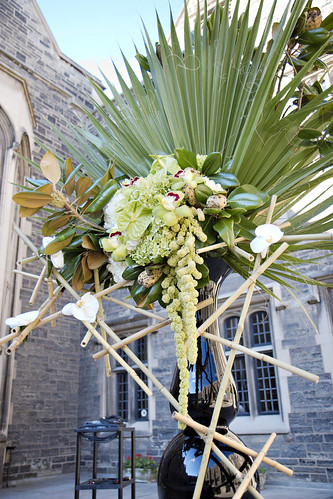
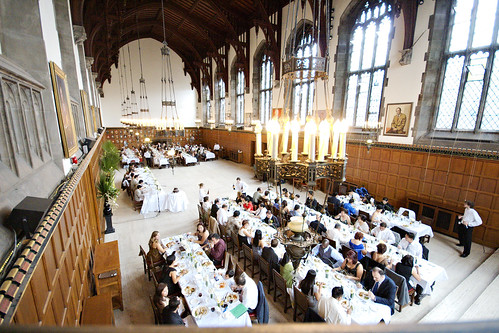
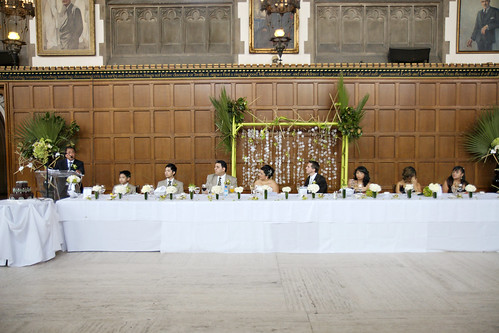
And last but not least, this was our biggest DIY project... the bamboo arch. Our wedding reception was held in a very gothic, very grand room... think Hogwarts School of Wizardry! With ornate chandeliers, long wooden tables, stone towers, and high wood-panelled walls, how to create the "Asian contemporary" mood I was after?? With an eight-foot high green bamboo arch is how!


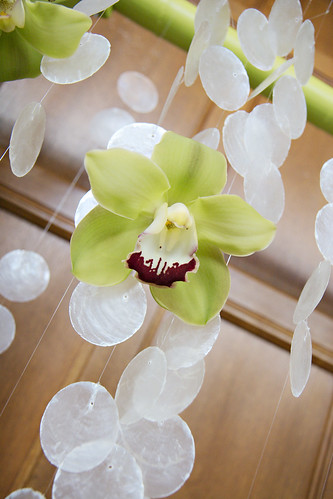
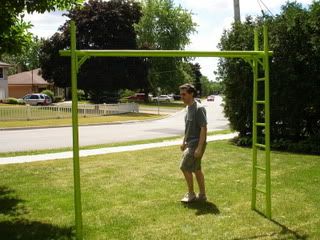
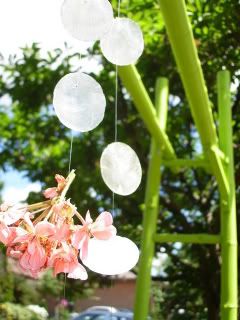
HandyMan and I started with three bamboo ladders from chinatown. We screwed them together and added some braces so the arch would stand upright. Then we spraypainted the entire thing a vibrant lime green and added little hooks on the top horizontal ladder. Hanging off the hooks, suspended off of clear fishing wire, were about 300 individual capiz shells. Kids, don't try this at home - it took us a good 7 hours to string all those shells :o\ Our florist interspersed orchid heads in the capiz curtain and added some spectacular arrangements on top.


And that was the DIY. Tune in for the last installment of Wedding Week and see how we pulled it all together.

Tuesday, August 26, 2008

Wedding Week

It's Wedding Week here at Rambling Renovators. Yes, you heard right... no house talk, no reno talk, but lots and lots and lots of DIY. I'm a newlywed only for a few hours longer so hope you folks can indulge me as a prattle on one last time about the day I became Mrs. HandyMan. We're off in New York City enjoying our first anniversary but I hope you'll enjoy these posts while we're off galavanting (I've always loved that word - galavanting - but never find the chance to use it in everyday conversation :) ).


*****


Today we're talking... Paper Goods! Nothing sets the mood more for a wedding than those invitations and programs and menus that you give to your guests. First though, before we got to work on the paper, we had to decide on the theme for the wedding. Tropical... green&brown... lush... fresh... summery... sunday brunch breezy... relaxed... those are the feelings HandyMan and I wanted to invoke with our wedding. We came up with a look that was "Asian Contemporary" and over the week you'll see how we brought that look to life.


I knew that I wanted to design the stationary myself. Through wedding chat boards like this one and this one, I found a wealth of sources for paper, stock images, fonts and inspiration. We decided we wanted bamboo as a running theme throughout our wedding. I found a great image on istockphoto.com that only cost a few $ and could be used over and over on our invitations, menus, placecards etc.


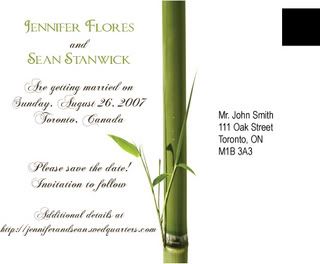
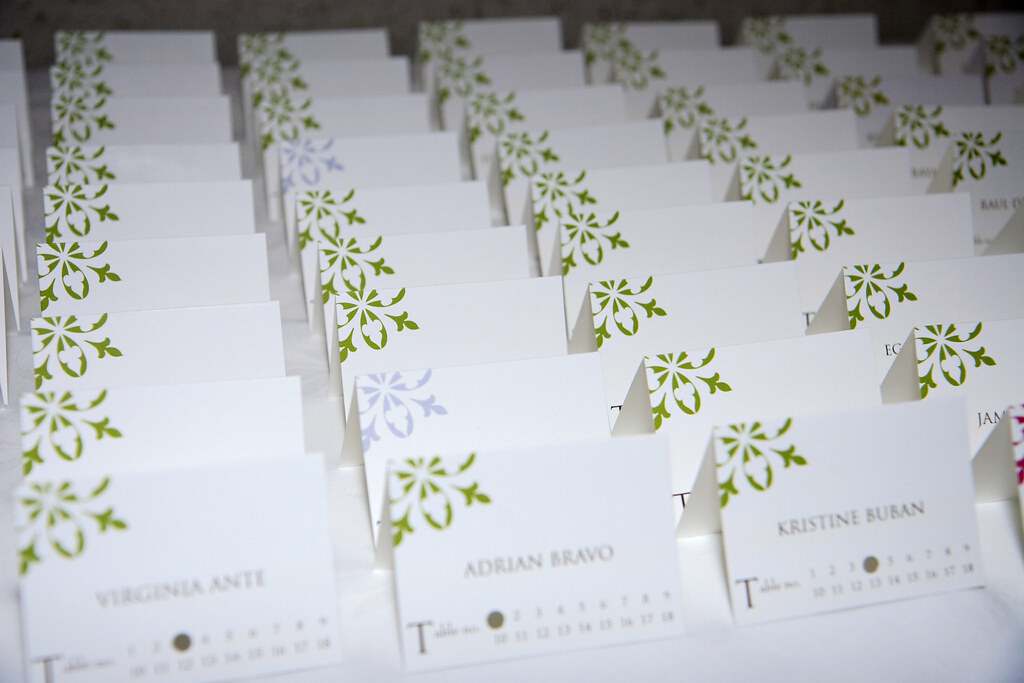
Now that the "theme" had been set, I let the design for the invitations stew in my brain for a while. A long while, HandyMan will tell you, because I must have showed him at least 37 variations of the invitation or so until I settled on the final one. "Originality" was the key for the invites... I wanted to give our guests something that they had never seen before. Something to whet their appetites. Something to give a glimpse of the wedding to come. Using pocketfolds from

Cardsandpockets.com and my design for the inserts, we continued the Asian Contemporary theme with these fresh and crisp invitations.
With these, our mission was accomplished. Our guests eagerly looked forward to our Sunday daytime wedding. Why Sunday? Why not! Who isn't relaxed and happy on a Sunday morning?

But that was just the beginning of the paper trail. I love stationery and fonts and graphics so I'll admit I may have gone a bit overboard. I whipped together menus, table numbers, a bar drink menu, directional signage, and seat signage. The fabulous Martha even inspired me to make my own accordion-fold programs.


But by far, my favourite paper project were these placecards. Given that there are always last minute seating arrangement changes at weddings, I wanted a placecard where the seat could be assigned at the last minute. These hole-punched cuties are what I came up with. The coloured floral on the top left also indicated meal choice (pink = vegetarian; green = chicken...) so it was multi-functional too :)


After grabbing their placecards, our guests found these favours at their seats... chocolate covered coffee beans in capiz boxes. For the tags, I printed up photos of me and HandyMan on Moo cards and put a thank you message on the back.


And finally, when all was said and done, after the I Do's were traded, the cake was eaten, and the flowers wilted away, I sent off these little Thank You cards. We wrote a message to each of our guests on the cardstock and included one of our Thank You photo cards.


Whew, that's a lot of paper! If you enjoyed that, drop by later this week for the next wedding instalment... DIY decor!