.:[Double Click To][Close]:.
Get paid To Promote 
at any Location


Friday, November 30, 2007

Bling Bling

With the wainscoting up and the wallpaper down, our dining room has the equivalent of a pretty black dress on... now its time to add some jewellry! In the dining room, that translates into pattern, shine, and light.

For the shine factor, I've already moved
my beautiful mirrored cabinet into the corner. On top will sit the Tiffany crystal decanter and rock glasses we got as a gift from HandyMan's boss...so pretty!

To make the room all sparkly and shiny, we've ordered this nifty little light fixture from Universal Lighting. Its the Chase model double pendant by Robert Abbey. More typically used over a kitchen island, it'll do just as well over our oval dining table. Since the barrel shades are hung off a t-bar, the view from the living room through the back garden window won't be impeded. The light has a nice antique nickel finish, lending to the traditional air of the room.

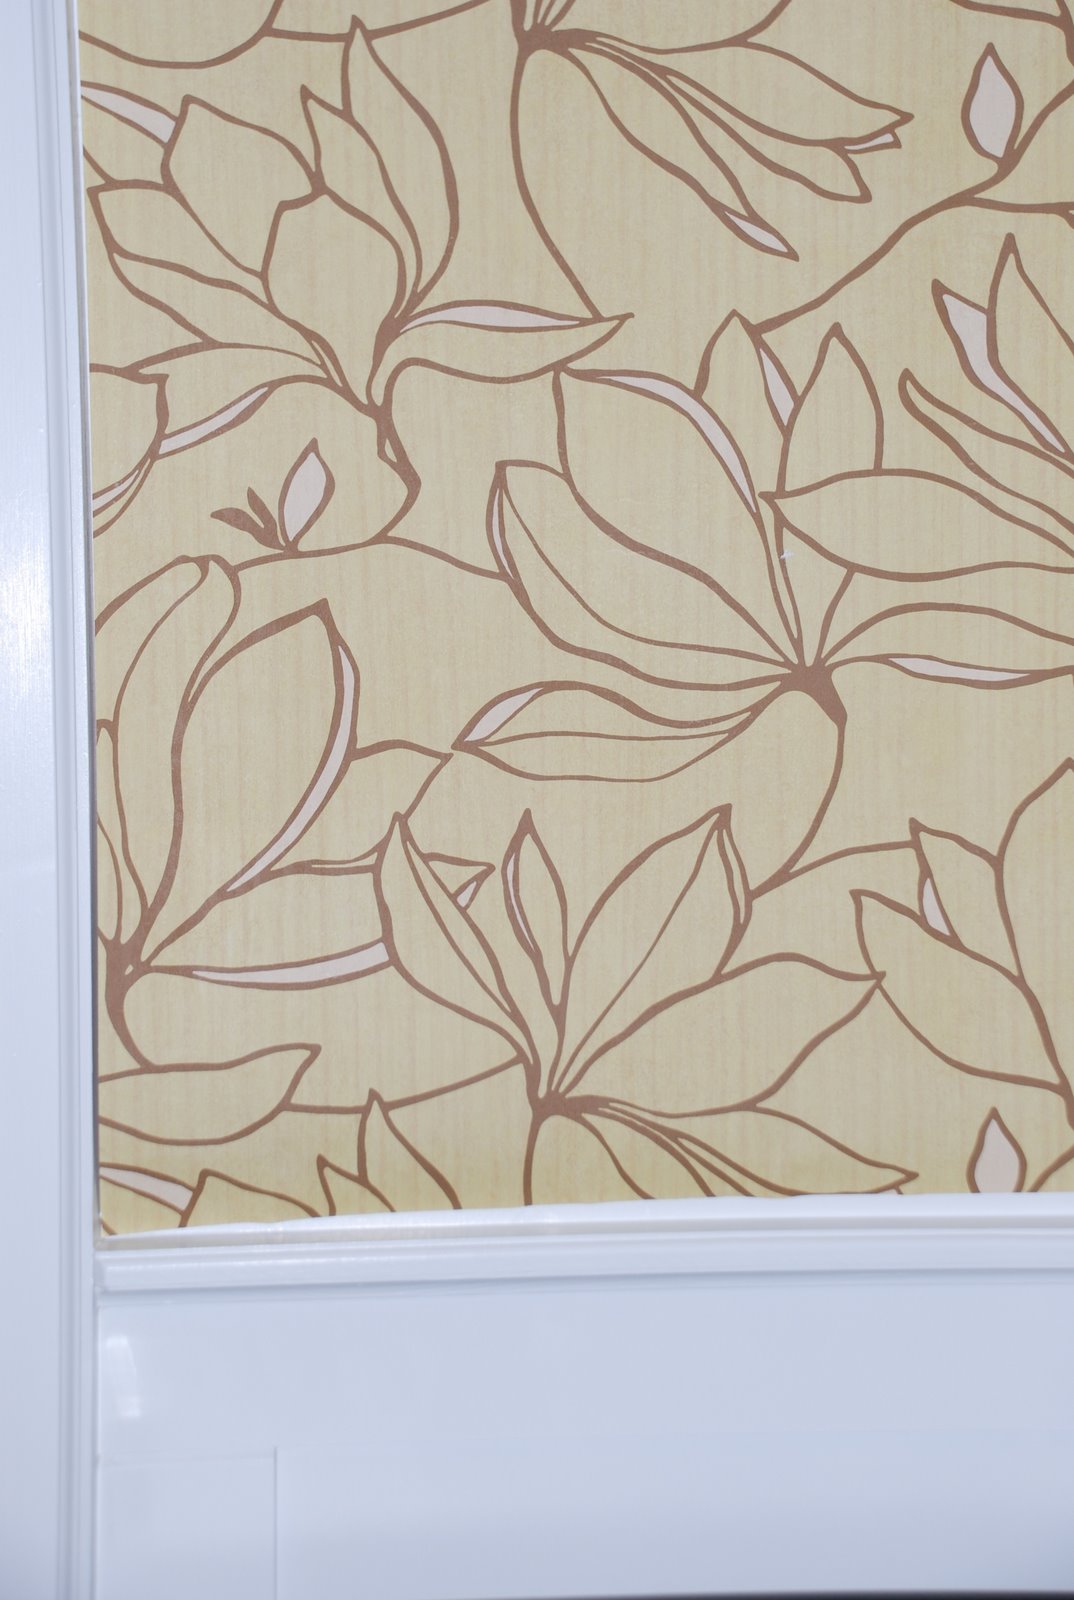
And what would a dining room be without a bit of "drama". For that, we've gone the wallpaper route. We wanted something bold, colourful, vibrant, and graphic. Finally, after months of looking (okay, not really ;) ), here's what we are going with... Tobago by Arte Wallpapers.

Since we're also putting plantation shutters on the garden window, the whole room will have a cool-breeze, british colonial kind of feel which is just PERFECT because I have big plans for the adjoining deck. The two rooms will have a similar style. The deck will painted in white from floors to ceiling, have a beadboard roof, and breezy curtains blowing in the wind. But I'm getting ahead of myself! Let's get one room done at a time :)

Break out the power tools!

HandyMan and I decided to tackle the dining room first. Its a good sized room, 11x14, we're not tearing down any walls or anything, and it would a be a good room to try out our new power tool prowess in. Oh how I love wedding registries! We got most everything we asked for on our Canadian Tire registry - our mobile table saw, sander, drill, nail gun (HandyMan's favourite new toy), and the router (my favourite new toy). I've already got a long list of things I want to build with these puppies!


To prep the room, we needed to first remove the wallpaper. Lucky for us, there was only two layers and those came out fairly easily with the wallpaper steamer we rented. Who knew though, that old plaster walls + hot steam = big crumbly patches of plaster. Oh well, good excuse to practice our plastering skills. Tools in hand, we set out to create our own wainscoting from scratch.


First, HandyMan created a nice little CAD drawing, figuring out the dimensions of each panel. Then, because the walls were in such bad shape, we decided to attach flat pieces of hardboard to the wall as the base. Woohee, that nail gun sure made that an easy job. After the base was on, HandyMan cut MDF strips for the vertical and horizontal panels. I requested a little mitred corner on each end of the verticals just to add some interest. Once the panels were up, we painted them with two coats of primer and a coat of Benjamin Moore paint in "Distant Grey".

Friday, November 16, 2007

Out With The Old

For all I know, I am blogging in a vacuum where the only person interested in my renovating progress is me. Not even HandyMan passes by here regularly (he’s too busy fiddling around in the new garage anyway). But for any of you lurkers out there, yes… I know… its been a looooooooooooong time since I last posted. 4 months long, which in the blogging world is a lifetime. I do have an excuse though. In the last 4 months, we’ve moved out of our old condo, moved into the new house, did some minor renovations (500 sq ft of pink carpet – be gone!), got married, and went on a honeymoon to Paris and Spain. Yeah, its been busy. But now I’ve got all that wedding stuff out of my system (liar – I still need a daily fix of http://www.weddingbee.com/), I can get back to this blogging thing. Lucky for you, dear reader, there is a lot to blog about.


First bit of business was getting the stinky old pink carpet out of there. We did that before we moved in and unearthed some pristine original hardwood floors underneath. HandyMan’s cousin did a great job of sanding and staining them back to life. We even found a beautiful inlaid marquetry where the original fireplace would have once stood. Speaking of fireplaces, what happened to that giant monstrosity lurking in the corner?? Thanks to the guys at
WeeHaul, that baby is gone gone gone. Yes, I know, one of the reasons we bought the house in the first place was because of the fireplace, but HandyMan is not a fan of faux river rock and I desperately wanted that 13% of my floorspace back. No worries though – something smaller, sleeker, and infinitely cooler will take its place. We had hoped to donate the fireplace to Habitat For Humanity but fearing it was too old to be usable, and WeeHaul ready to take it away for a mere $20, we decided to toss it out.

Next up, progress on the dining room...